

Welcome to Picasi - your first start
Picasi makes it possible to monitor the competition all in one place: create sources, read updates, and generate reports. Before you can get started, you’ll need to set up a Workspace. This lesson will walk you through the initial setup—from signing up to the dashboard.
By the end, you’ll have a working Workspace with your website URL as the AI context and at least one source to monitor.
Here’s how to proceed
-
Sign in
Open picasi.app and click Sign In. Picasi uses WorkOS for authentication—you can sign in with your email and password or via an SSO provider, depending on what you selected during registration.
After logging in, the first Workspace owner will be taken directly to the onboarding wizard. If you return later and the wizard no longer appears, you can find it under Settings → Basic Settings.
-
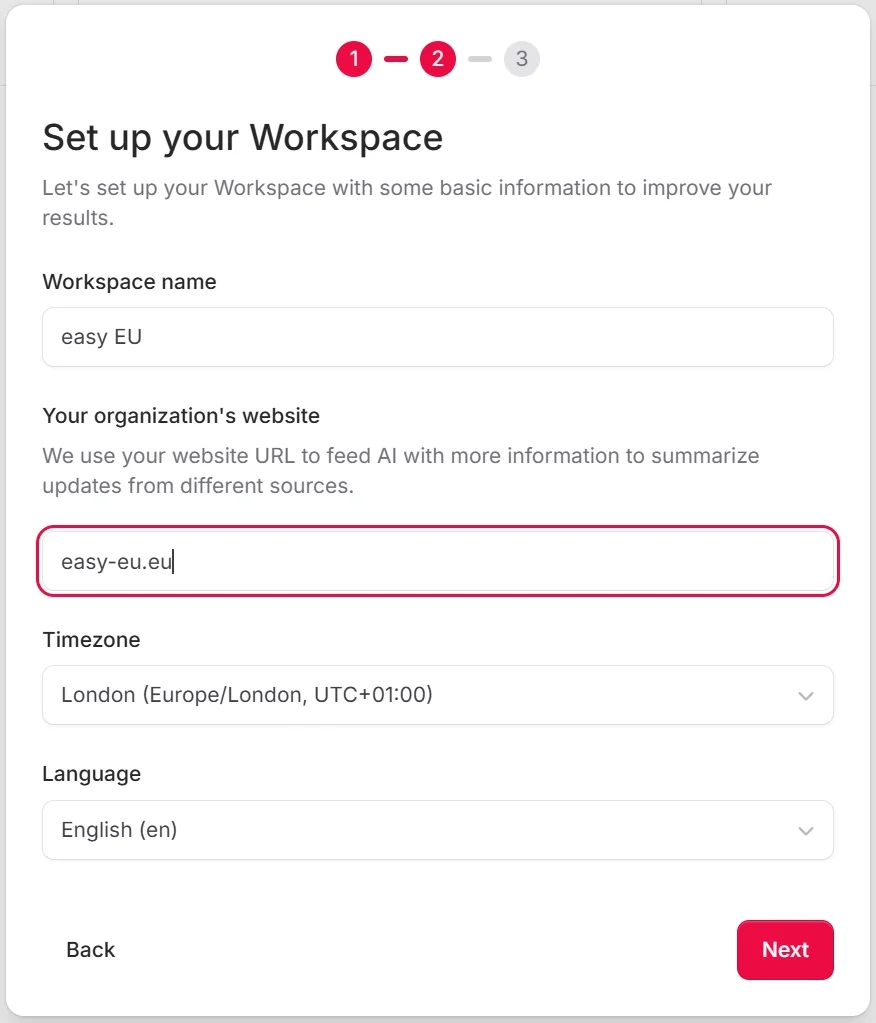
Assign a Workspace Name
In the first step, give your Workspace a name. This is only visible internally to your team — simply use your company name or a short designation like
Muster AG – Marketing.Click Next when you’re done.
-
Enter your website URL
In the second step, enter the URL of your own website, for example
https://muster-ag.de. Picasi uses this URL as context for all reports: The AI then knows who you are and can take your situation into account during analyses.From this website Picasi reads out a company profile in the background — a document in the Company category that serves every analysis as context. You can check and replace it later.
You can change the URL at any time under Workspace settings → AI Input.
-
Select time zone and language
Set the time zone and language that work for your team. The time zone determines when scheduled reports are sent—this is especially important if you plan to set up automated reports later.
-
Enter first sources
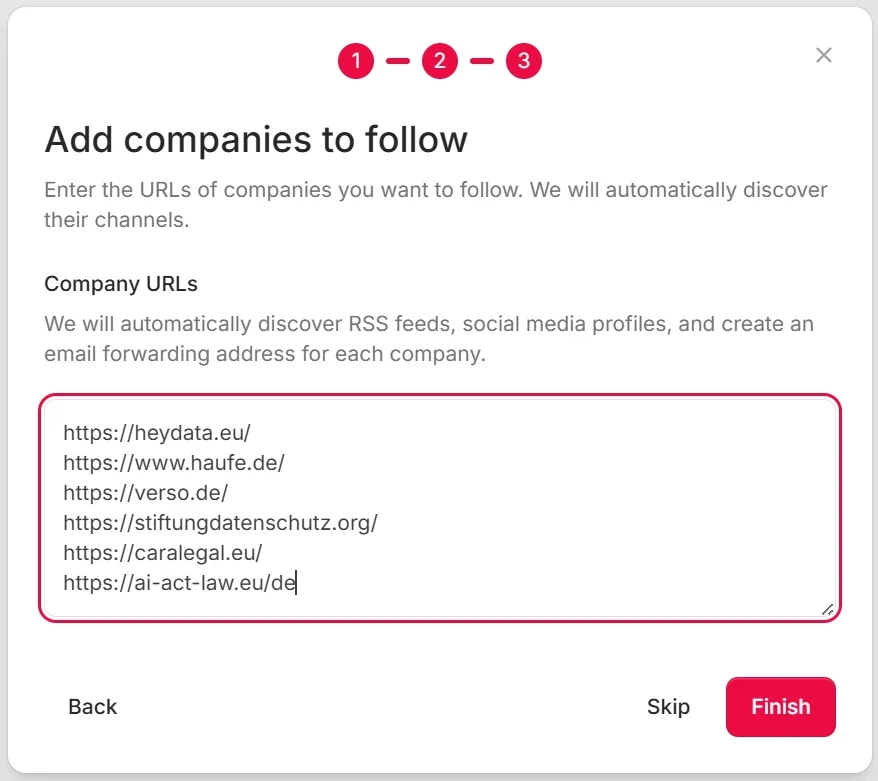
In the final step, enter the website URLs of the competitors or entities you want to keep an eye on. For example,
https://competitor-gmbh.de.You can enter multiple URLs at once here. Picasi creates the sources and automatically searches for their channels—LinkedIn, YouTube, RSS, and newsletters. This runs in the background and takes a few minutes.
If you’d rather add the sources later at your leisure, you can also skip this step.
-
Explore the Dashboard
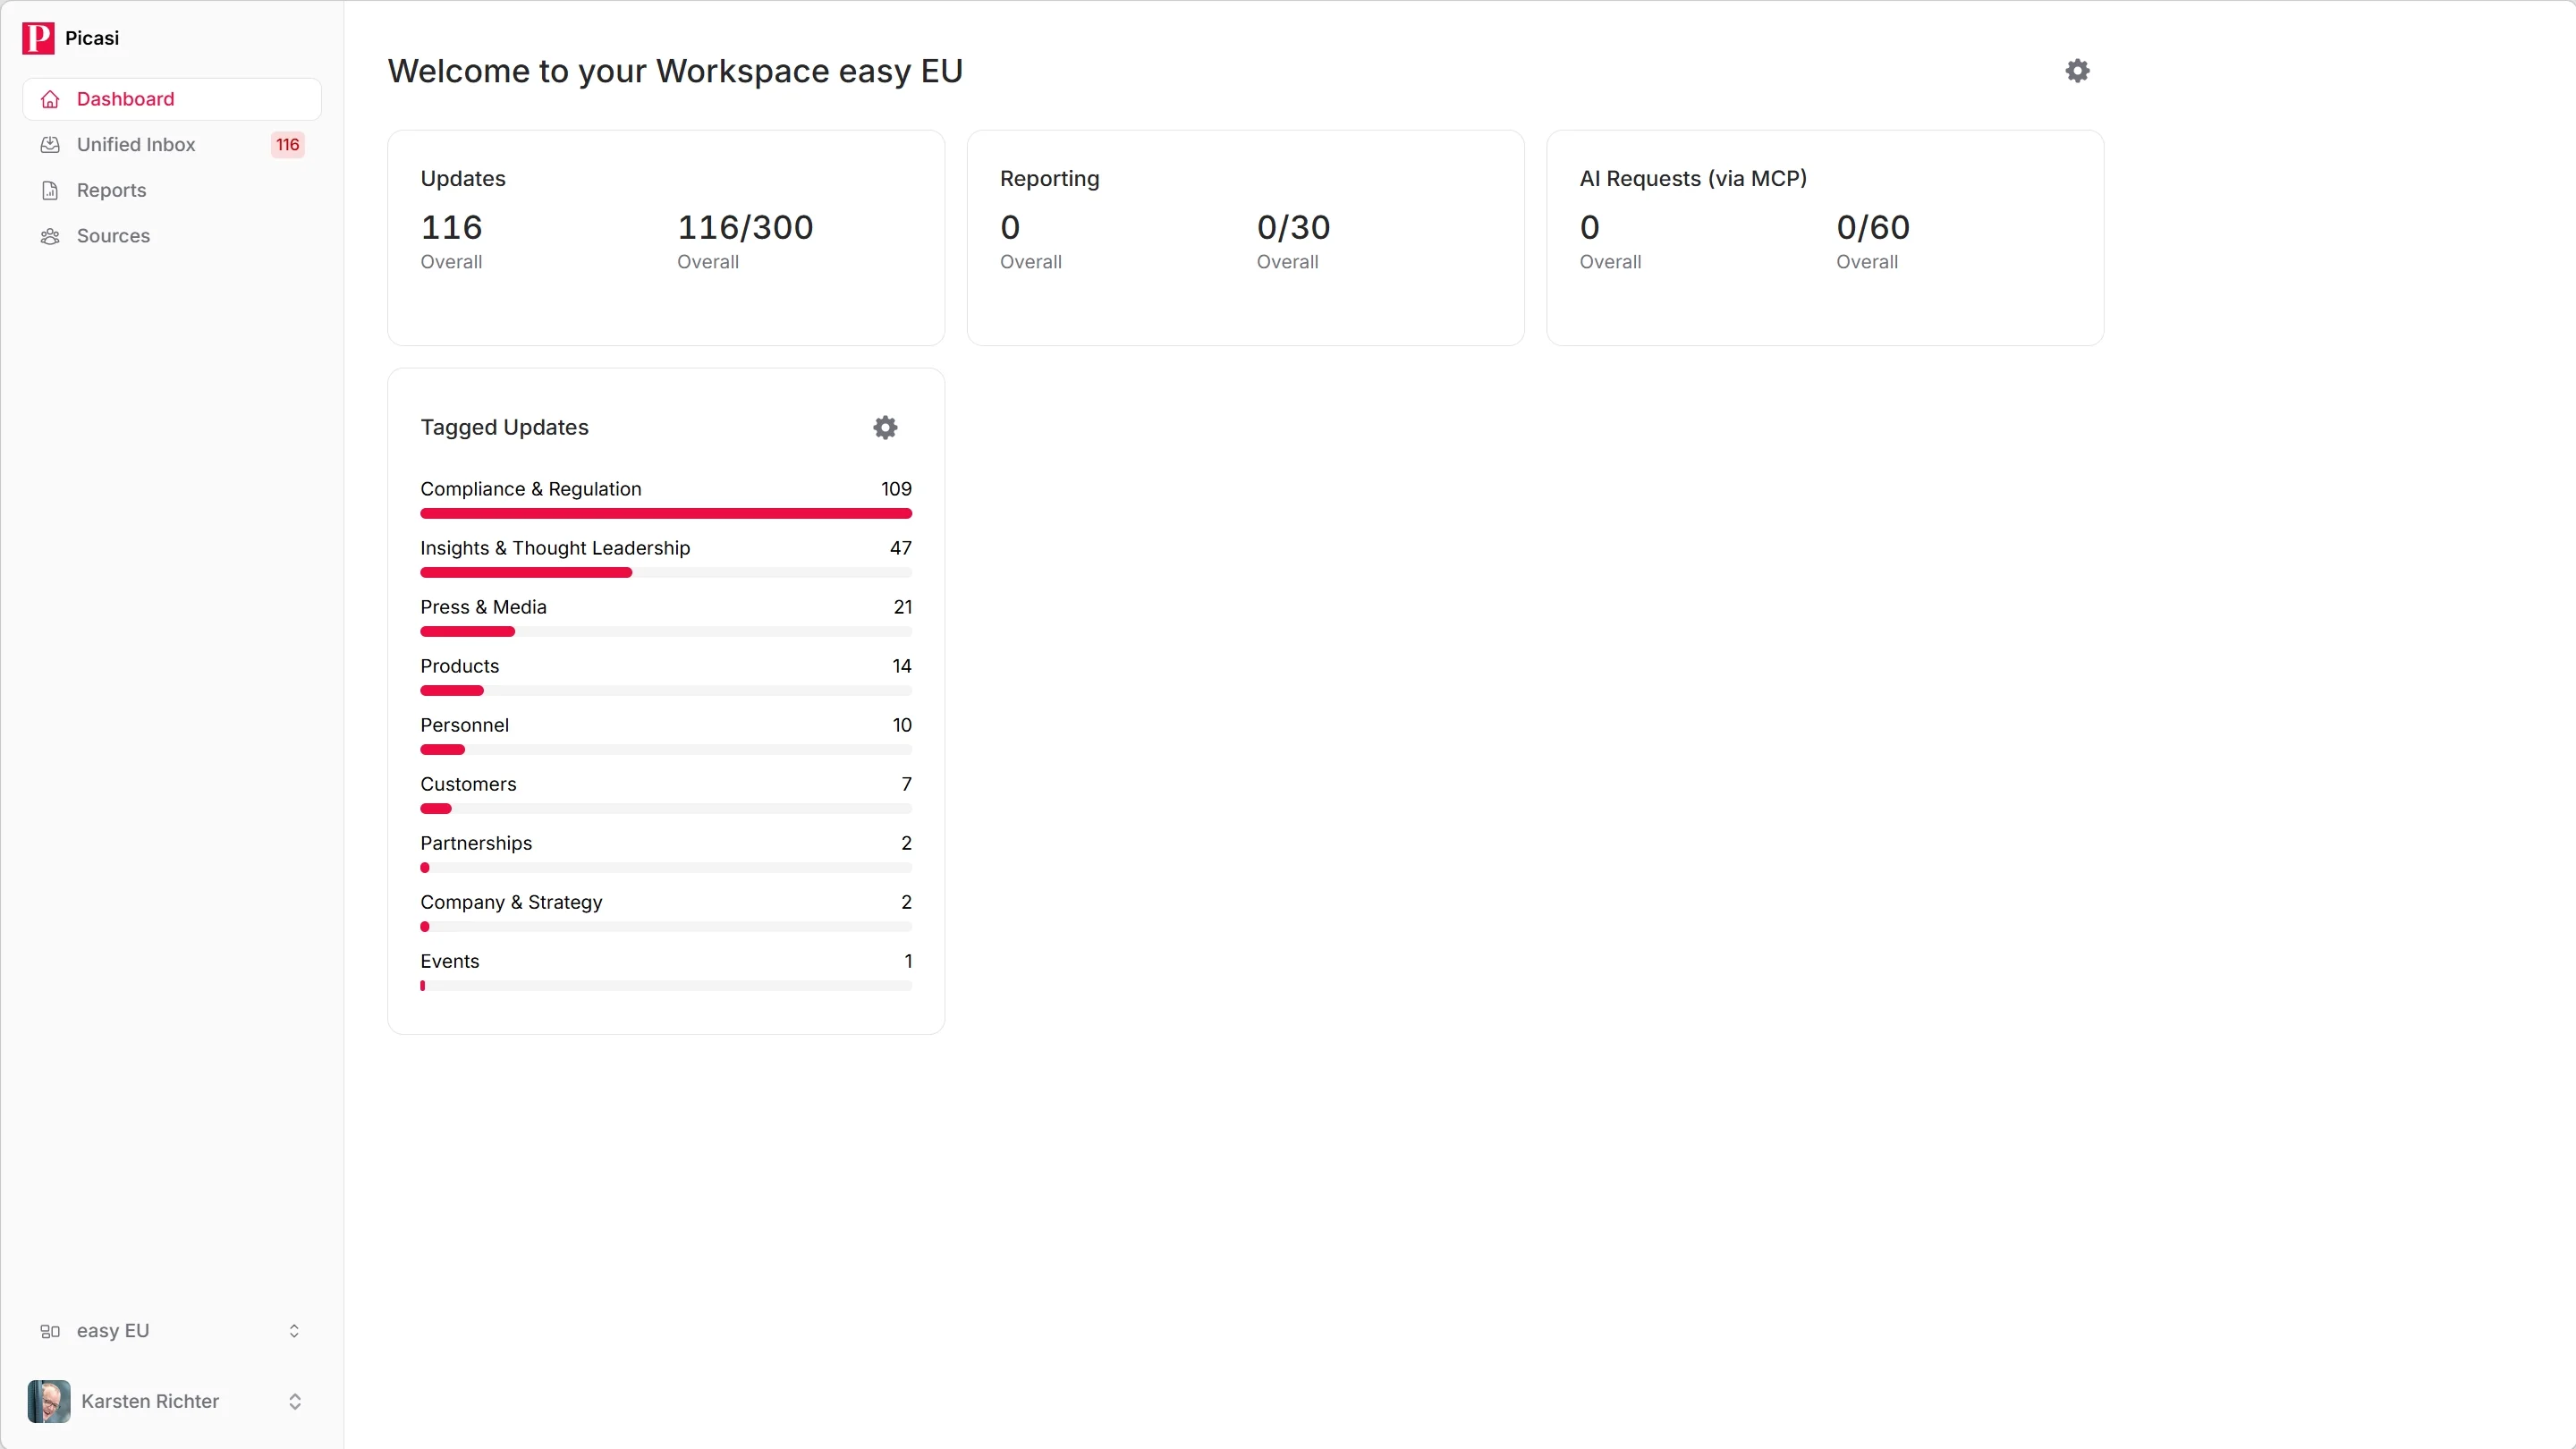
After the wizard, you’ll see the dashboard. Here you’ll see at a glance:
- How many updates have been received today
- How many sources and channels are active
- Your progress toward your monthly limits (updates and reports)
In the left navigation, you can access all sections: Inbox, Sources, Reports, Scheduled Reports, and Settings.
What’s next?
As soon as Picasi has discovered the first channels, they are retrieved immediately. The first updates appear in your Inbox within a few seconds.
From your Workspace Picasi also derives a Workspace profile and uses it to look for further sources worth watching. The first suggestions come about a week after the start — by email and in the source list.